4. Apply the grout efficiently: Use a grout float or a grout bag to apply the grout evenly and quickly into the joints. Ensure that the joints are completely filled, but avoid excessive grout on the tile surfaces.
5. Clean as you go: Immediately after applying the grout to a small section, use a damp sponge or a grout float to remove excess grout from the tile surfaces and smooth the joints. Rinse the sponge frequently to keep it clean and effective.
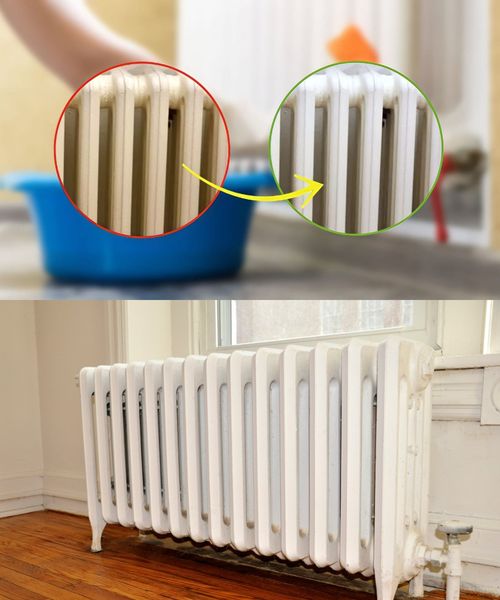
6. Speed up the cleaning process: To expedite the cleaning process, use a grout haze remover or a mixture of water and vinegar to wipe away any grout residue or haze on the tiles. This helps reveal the white joints more quickly.
7. Use a grout sealer: Once the grout is dry and the joints are white, consider applying a grout sealer to protect the joints from stains and discoloration. Follow the manufacturer’s instructions for proper application and drying time.
Remember, achieving white joints in 10 minutes depends on various factors such as the type of grout used, temperature, humidity, and the size of the tiled area. It’s essential to follow the manufacturer’s guidelines for the specific grout product you are using and adjust your technique accordingly.

