Genius! Love this one | September 2, 2024
Annonce:
Advertisement:
Organizing cluttered drawers is one of those tasks that often lingers on the to-do list for weeks, if not months. It’s easy to overlook, and when you finally muster up the courage to tackle it, the prospect of sifting through tangled cords, mismatched socks, or miscellaneous junk can be daunting.
But what if I told you that my mom has a foolproof trick that can transform any chaotic drawer into an organized haven in just 10 minutes? And the best part? It requires almost zero effort.
Here’s the step-by-step guide to mastering this game-changing organizational hack.
Step 1: Empty the Drawer Completely
Yes, the first step may seem counterintuitive to the “zero effort” promise, but trust me, it’s essential. Take everything out of the drawer and place it on a nearby surface like a table or bed. This allows you to start with a clean slate and see exactly what you’re working with. Don’t worry about sorting yet—just get everything out.
Step 2: Shake the Drawer
Before you start organizing, take a moment to shake out the drawer. Hold it upside down (if possible) and give it a few gentle taps. This step is crucial for getting rid of tiny debris, dust, or any crumbs that have mysteriously found their way into your drawer. If the drawer is fixed, use a handheld vacuum or a slightly damp cloth to clean it out quickly. It’s a simple step, but it makes a world of difference.
Step 3: Assess and Group Similar Items
Now that you have everything laid out, it’s time to do a quick assessment. Don’t overthink it; just quickly group similar items together. For instance, gather all the pens in one pile, batteries in another, and so on. My mom’s trick here is not to spend too much time deciding where each item should go—just group by broad categories.
If you find items that don’t belong in the drawer, like stray keys or loose change, place them in a separate pile to deal with later. The key here is speed and simplicity.
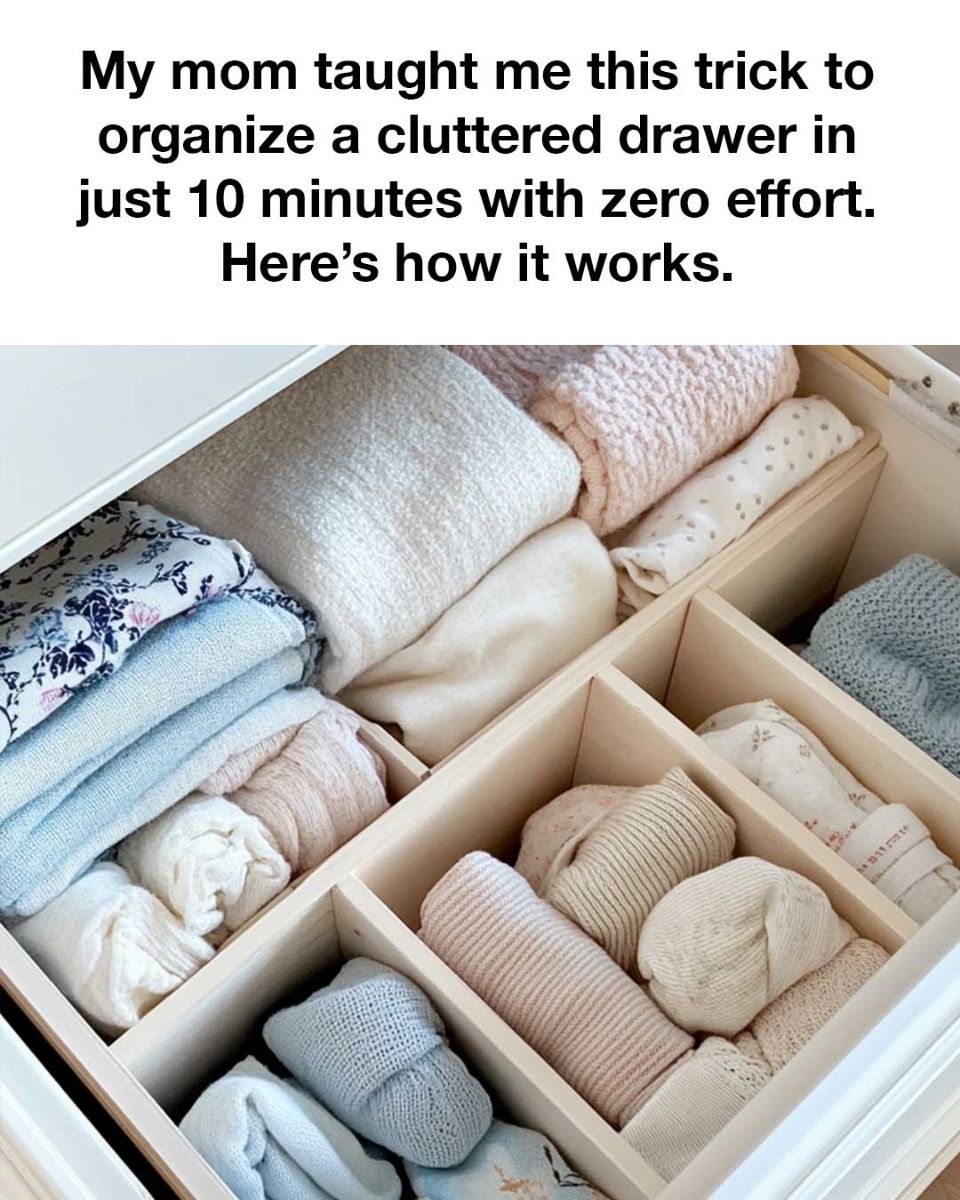
Step 4: Use Dividers or Small Containers
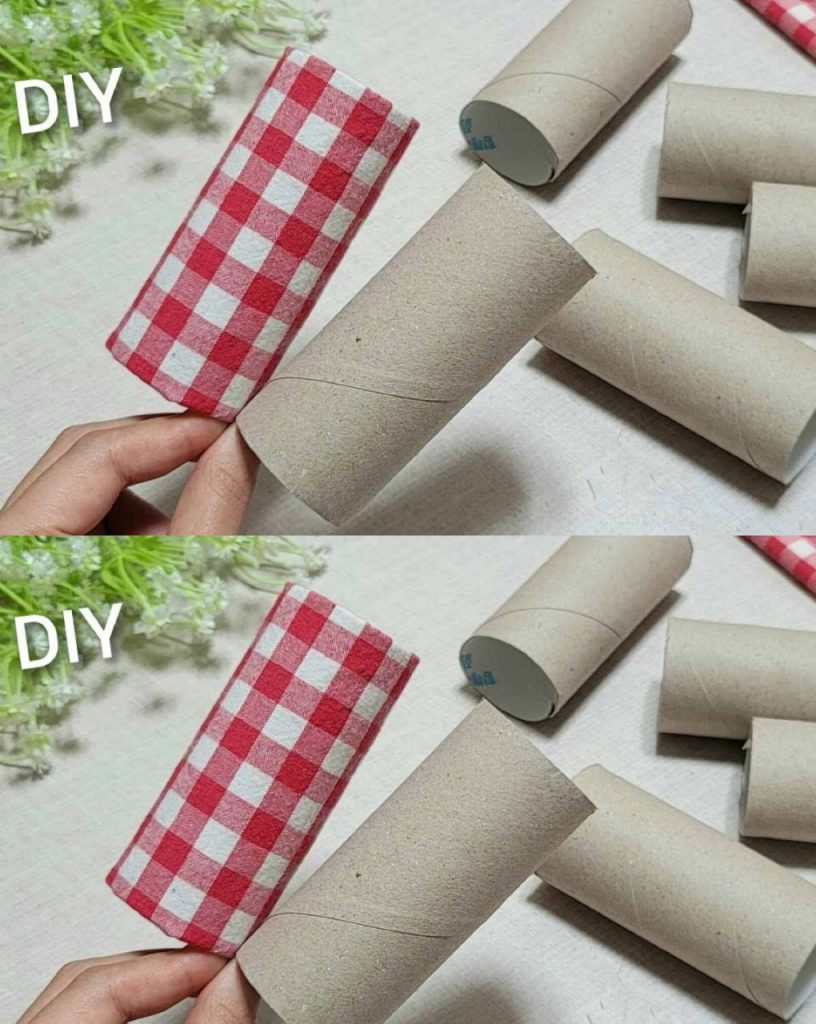
This is where the magic happens. My mom swears by using small containers or dividers to create compartments within the drawer. You can repurpose old boxes, use plastic trays, or buy inexpensive dividers from the dollar store. The idea is to create distinct spaces within the drawer for each category of items you’ve grouped.
Simply place your grouped items into these containers or sections. Pens go in one, batteries in another, and so forth. This way, everything has a designated spot, and your drawer remains organized.
Step 5: Return Items to the Drawer
Now, with everything neatly sorted into containers or compartments, it’s time to place them back into the drawer. Don’t stress about making it perfect—just ensure each group of items is in its own section. The dividers will do most of the work for you, keeping things in order without much effort on your part.
Step 6: The 10-Second Maintenance Rule
Once your drawer is organized, my mom suggests a simple maintenance trick: the 10-second rule. Anytime you open the drawer and notice something out of place, take just 10 seconds to fix it. It’s a small investment of time that prevents clutter from building up again.
GALAXY CHOCOLATE MILLIONAIRE’S SHORTBREAD
When you go to the beach and see a spot with no waves, don’t come closer
Mariska Hargitay & Teen Adopted Daughter Hug in Rare Pic Years after She Cried Becoming Her Mom
SHRIMP & TERIYAKI STEAK NOODLES
HAMBURGER STEAKS WITH ONION GRAVY
Vegetable and Mozzarella Bake


