Preparation
Get the Dough Started: Melt the butter and whisk in the peanut butter in a mixing dish. Blend until smooth and creamy, using an electric or stand mixer set on medium speed.
Flavor with Aromatics: Stir in the vanilla essence and mix well.
Put the Finishing Touch on It by Adding Powdered Sugar Gradually While Blending on Low Speed. To make sure everything is mixed evenly, scrape down the bowl edges.
Crunch Time: Carefully combine the crumbled Butterfinger bars and graham cracker crumbs.
Prepare Them: Spread out a large baking sheet with kitchen parchment. Measure out about 1 to 1½ teaspoons of dough, shape it into tidy balls, and set them on a baking sheet.
Step 4: Chill the dough by placing the balls in the freezer for about 30 minutes, or until they are rock solid.
After the dough balls have cooled, you may begin to melt the chocolate for the chocolate symphony. In a bowl that can be safely heated in the microwave, cook for 30 seconds at 50% power, stirring after each interval. Overheating might cause lumps to form, but don’t worry—they’ll melt as you mix.
Apply Finishing Touches: Melt the chocolate and dip each cold ball in it. You have the option to completely cover them or leave some peanut butter mixture showing.
Sprinkle some more crushed Butterfinger bars on top, or use holiday-themed sprinkles. For an added kick, add a pinch of flaky sea salt.
Indulge in your Butterfinger Bliss Balls just after the chocolate has solidified, the grand finale.
Reminders: These treats will keep in the fridge for up to a week if sealed properly.
Natural peanut butters might be very greasy, so it’s b
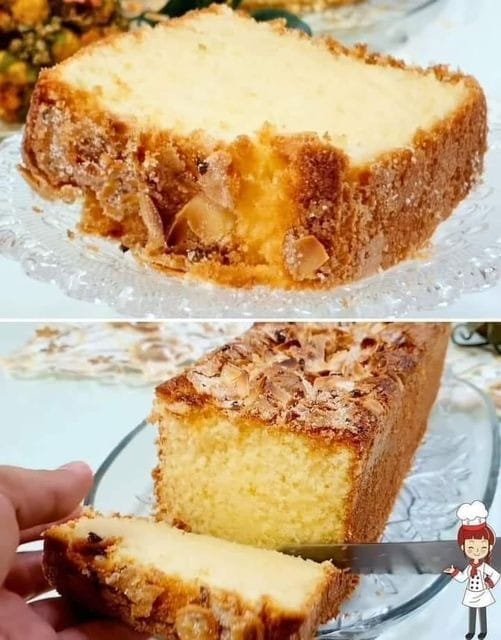
Lemon Curd Pound Cake: A Timeless Treat from Grandma’s Kitchen

Easy Oven Baked Ribs

Garlic Brown Sugar Chicken

Super macio bolinho with sequinho de chuva
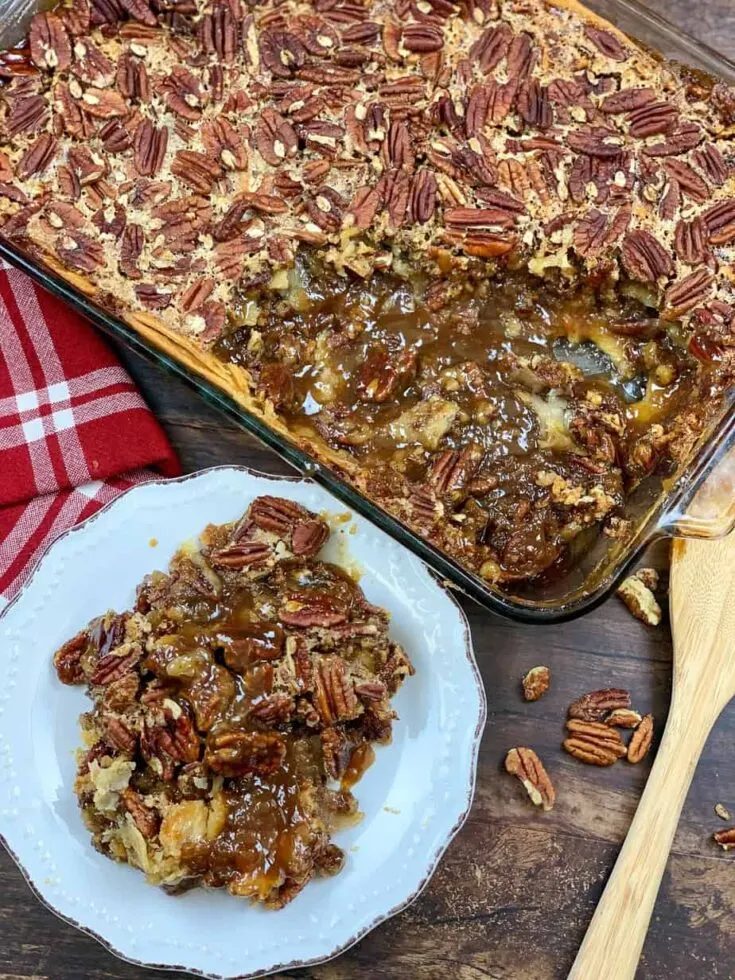
Pecan Pie Cobbler

The Unexpected Discovery: A Couch Full of Surprises

Learn how to Correctly Grow Beautiful Plants in Water
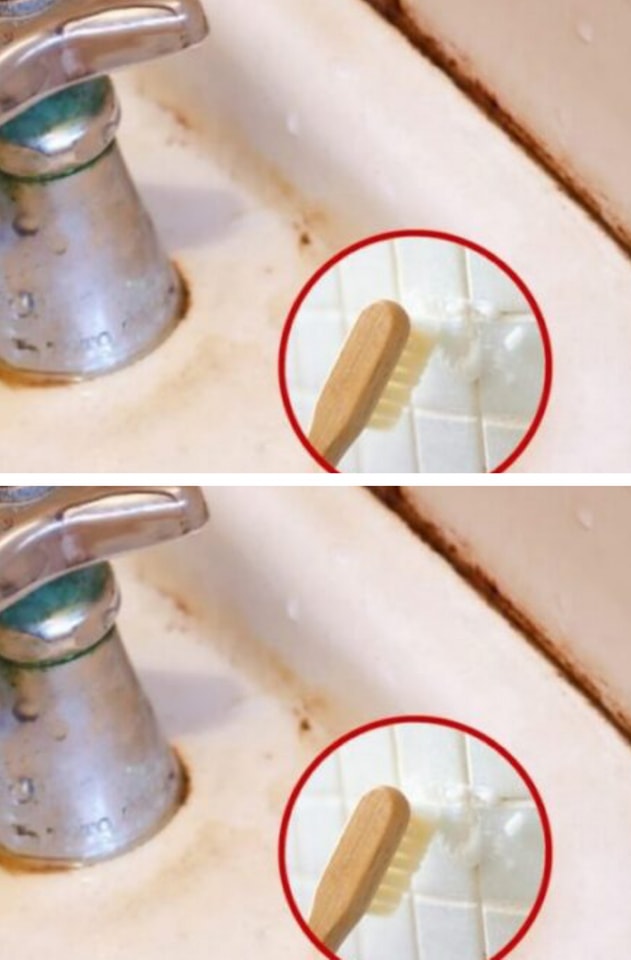
How to remove black mould from bathroom silicone in 10 minutes
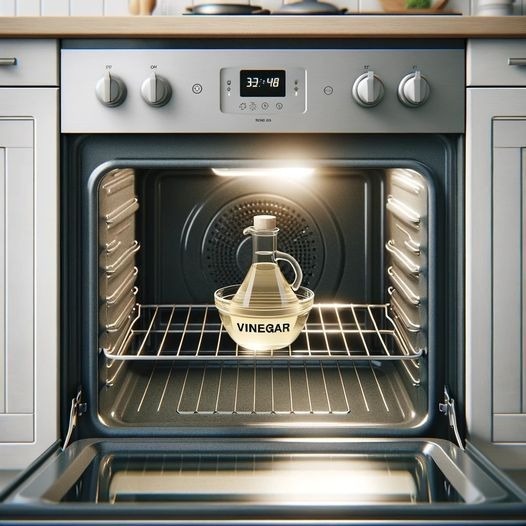
Simply placing a bowl of vinegar in the oven can permanently eliminate this issue.


