Mastering the Art of No-Oven Stovetop Bread (Page 2 ) | May 10, 2024
Annonce:
INSTRUCTIONS:
- Activate the Yeast: In a small bowl, combine the warm water, sugar, and active dry yeast. Stir gently and let it sit for 5-10 minutes until the mixture becomes frothy and bubbly.
- Mix the Dough: In a large mixing bowl, combine the flour and salt. Make a well in the center of the flour mixture and pour in the activated yeast mixture and olive oil. Stir with a wooden spoon or your hands until a shaggy dough forms.
- Knead the Dough: Transfer the dough to a lightly floured surface and knead it for 5-7 minutes until it becomes smooth and elastic. Add additional flour as needed to prevent sticking, but be careful not to add too much, as this can make the bread dense.
- Let the Dough Rise: Place the kneaded dough in a clean, lightly oiled bowl and cover it with a kitchen towel or plastic wrap. Let it rise in a warm, draft-free place for 1-2 hours, or until it doubles in size.
- Divide and Shape the Dough: Once the dough has risen, punch it down gently to release the air bubbles. Divide the dough into 4 equal portions and shape each portion into a ball. Flatten each ball slightly with your hands to form a disc shape.
- Cook the Bread: Heat a non-stick skillet or griddle over medium heat and lightly grease it with cooking spray or olive oil. Place the shaped dough discs in the skillet, leaving space between each one. Cook for 3-4 minutes on each side, or until golden brown and cooked through. The bread should sound hollow when tapped on the bottom.
- Serve and Enjoy: Remove the stovetop bread from the skillet and let it cool slightly before serving. Enjoy the warm, freshly baked bread with your favorite spreads or alongside your favorite meals.
Advertisement:


Hummingbird Bread
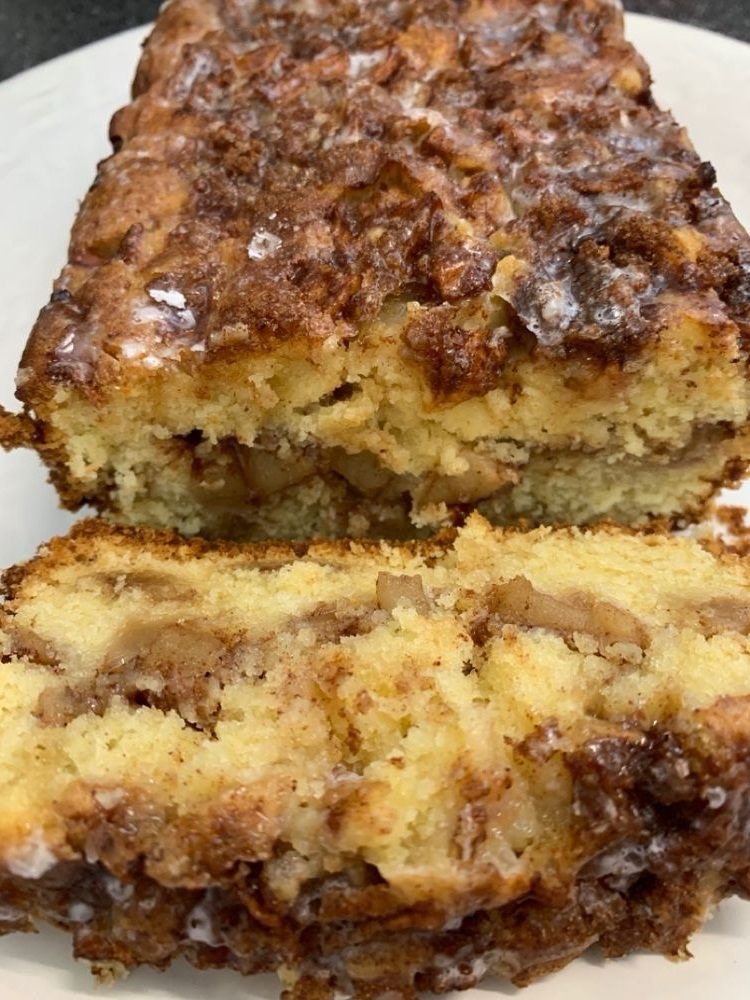
CINNAMON SWIRL APPLE FRITTER BREAD

BAKED CAJUN SHRIMP: A Spicy Seafood Delight

Dad cries when his soldier son sends him a birthday message. Then the real gift of him walks through the door.

The lemon whip trick: try it and you won’t believe it!

Roses that will bloom all year round: learn how to grow them!


